So, I'll pick up where we left off.
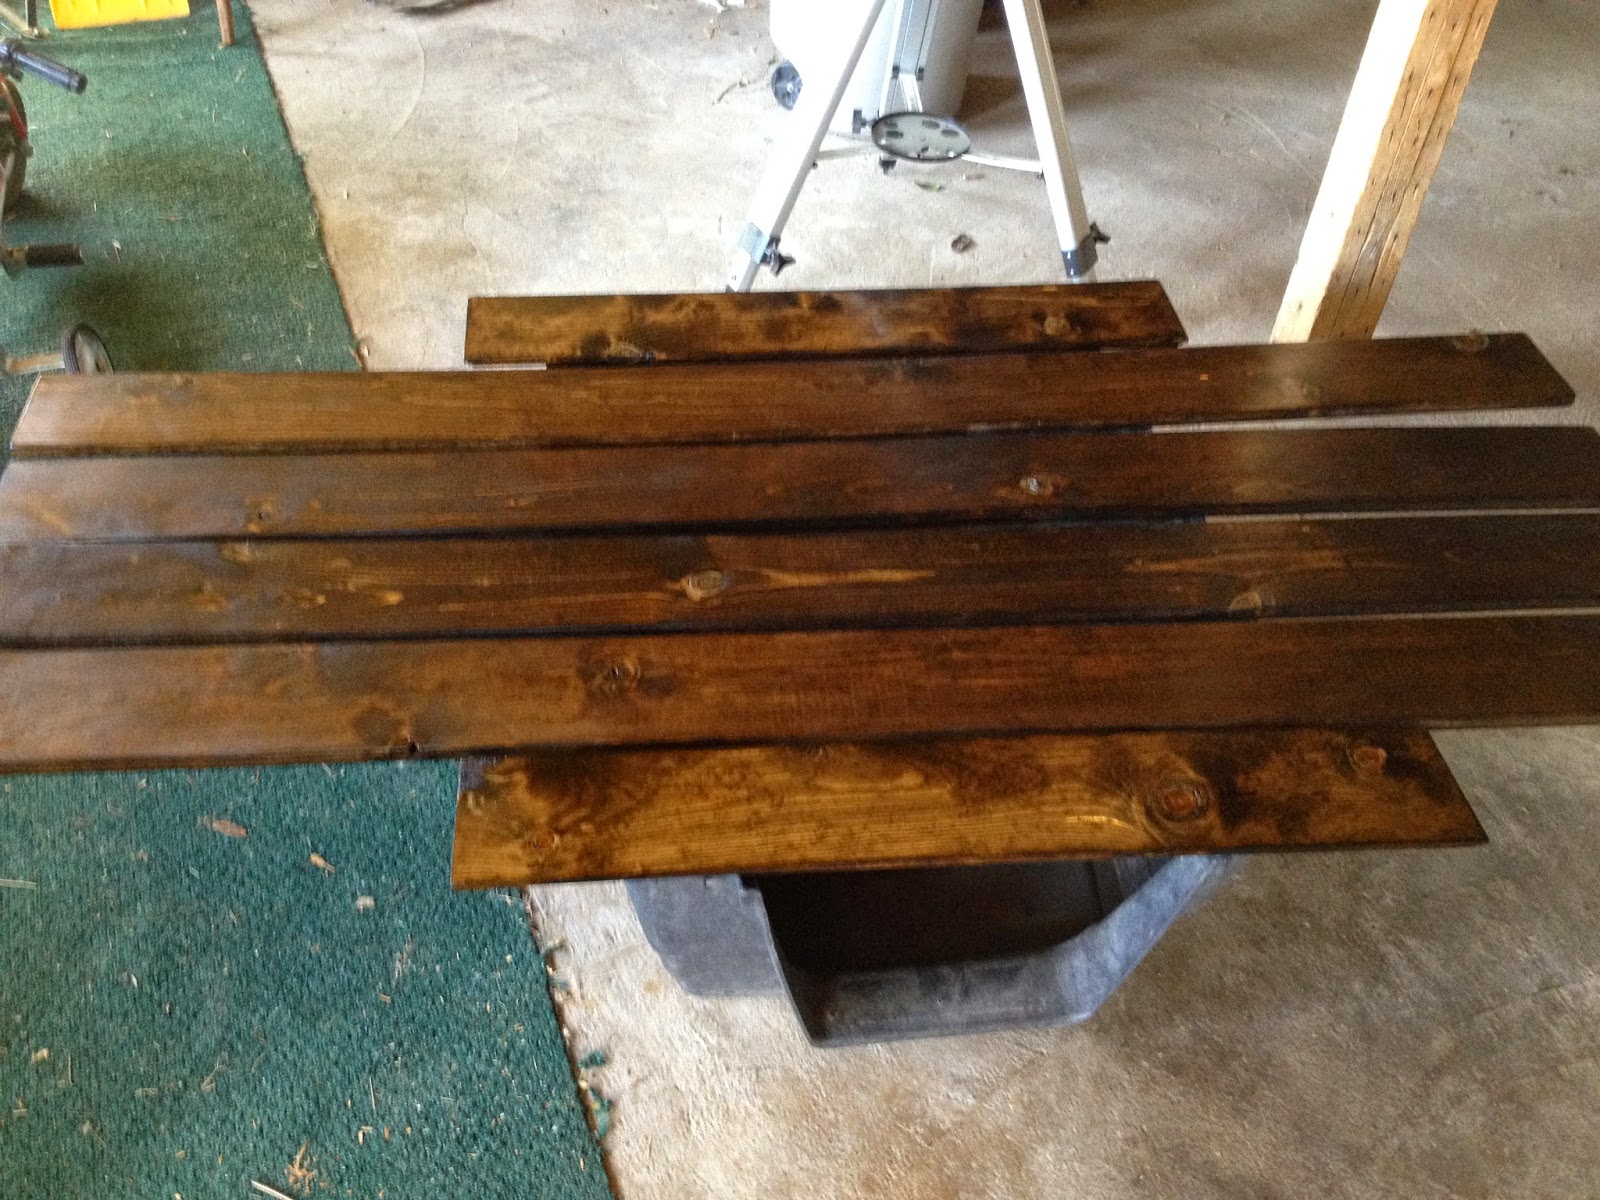
Remember this? The boards I was prepping for two separate projects?
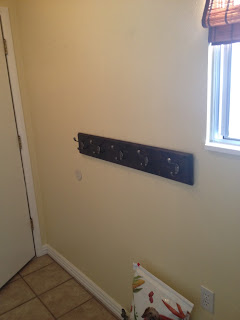
Well, I'm proud to say that I did complete my mudroom coat hangers about a month after my last post. And I have a couple of tips that I learned the hard way when that I would like to pass on to you.
#1 If you are staining wood, make sure to do it in a more dust-free environment than a 100-year-old chicken coop. I would suggest a cleaner area, like a garage or basement. Unfortunately, my wood stain picked up dust, hairs, and a bug or two. What to do? After it is dry, sand those areas down and reapply stain.
#2 Don't be too eager to finish you project. When the can says to allow hours of drying time...they aren't joking. In my hopes of making quick work of this project, I applied the second stain too soon and it left the stain tacky to the touch for a very long time (See pic below. The dark areas are the tacky spots.). I had to Google the remedy for this because I was in all new territory. The solution I came across was to wipe up the excess with paper towels, lightly sand the wood again, and then reapply the stain...allowing the stain to have enough time to dry correctly this time. Fun, right?
#3 Buy a great stud/electrical finder. I bought an inexpensive stud finder at Home Depot that also alerts you if it detects electrical wiring. I never though of that particular hazard until it beeped at me multiple times whenever it swiped it near the stud. Apparently, the wiring was attached to the sides of the studs. I would have hated to drill into the wall and found out the hard way that there was live electrical wiring in there too. So, being careful to measure over and over again, I marked where the stud was and my best estimate of its center. Unfortunately, after many pilot holes, I realized that since this area of the house was a late add-on, the builder installed the stud supports in a bit of a maze. So, instead of a stud running the whole height of the wall, it would run about halfway down to a horizontal stud, then they would finish the support further over. Picture how a bricklayer would layer the bricks, overlapping. That's what this framework was like. And this is what my wall was looking like.
So, after much drilling, I found two good studs to drill anchor holes into. When hanging something like a coat hanger that will probably be holding a good amount of weight, you want to anchor into a stud so that the object won't just fall off the wall when the screw you only put into the drywall can't support all the weight. Thankfully, the exploratory holes were going to be completely covered when I put up the rack. Otherwise, I would have filled the hole with spackling and spot painted them.
As you can see in the picture below, I already measured out how many hooks I wanted, where I wanted them on the board, and pre-drilled the holes for the hooks. Since I don't want the screws I use to attach it to the wall to show, I did not attach the hooks yet. Instead, I placed the board in alignment with the studs and screwed the board to the wall, right where the hooks will hide the wall screws.
After the board was attached to the wall, I screwed in the hooks. And that brings me to my next tip...
#4 Use a level. I just eye-balled where I wanted the racks to end up, but when I went to mark the spots where to drill for the stud holes, I used a laser level. I simply marked where the first hole would be and then turned on the laser. I kept the bubble centered in the level and marked my next spots for holes on the laser line.
This project was a lot simpler than I thought it would be (minus the many, many pilot holes) and makes it much easier to hang things up as we come in the door, instead of on couches, counters, and chairs.
Keeping it real moment: The mudroom doesn't look nearly this neat now that winter is here and more items are used on a daily basis. But, the racks are holding up well and I'm still loving them. Also, because we had to replace a large section of the wall when we redid this mudroom (months before this project), there was a spot where the drywall texture isn't completely flat. This meant that the right side of the lower coat rack isn't 100% flush against the wall. But it's close enough and you can't tell at all.
If we waited for perfection, nothing would ever get done. Instead, we Simply Do.


